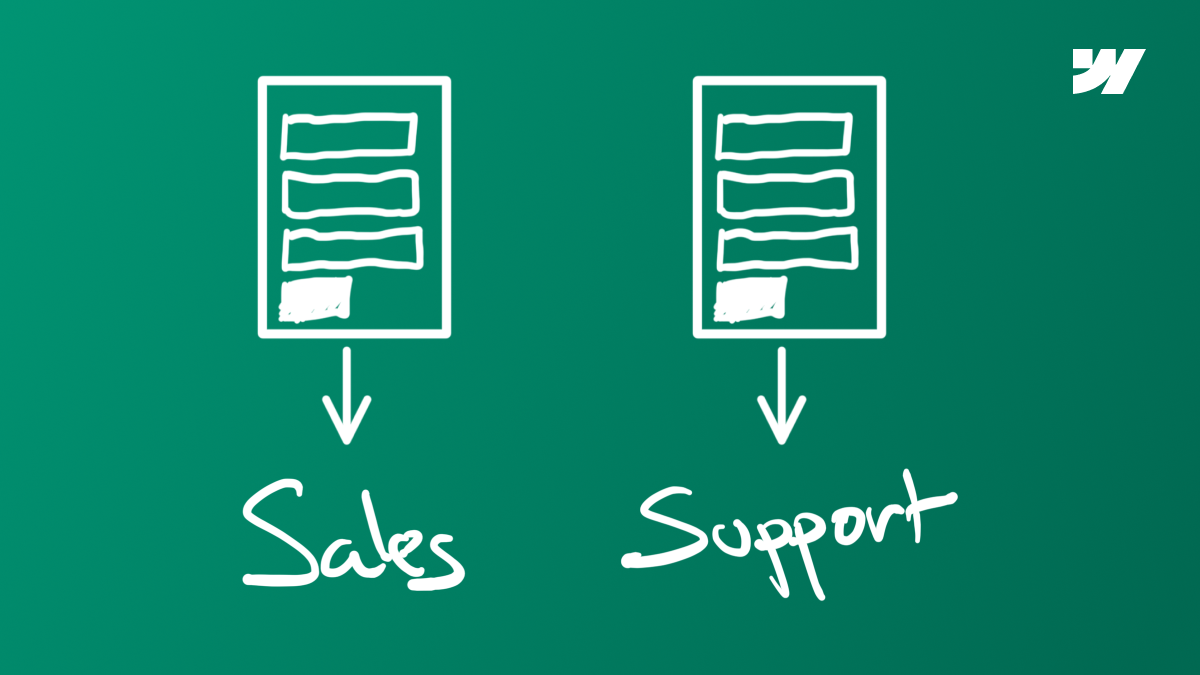
One of my clients wanted two forms on their Webflow website – one to contact their sales team and another to contact their support team.
After some research, I realized this is not as easy as you might think. Webflow doesn't let you configure the recipient of individual forms on your site.
This means that for my client, submissions from both Sales and Support forms would end up in everyone's inbox. Because they get a lot of submissions, this wasn't an option.
So I had to build a custom solution. To save you time, I’m sharing my built here with you.
Sending submissions from specific forms to specific email addresses
We’ll be using Webflow Logic and Mailjet – an email API. There are other options, and I’ll give you options at the end of the tutorial.
Connect your form to Webflow Logic
We’ll start by connecting your existing form to Webflow Logic. In the left menu panel, click on the Logic icon and then click on Flows. In Flows, click on the New flow button. Give your Flow a name. Click Select a trigger to start this flow in the center of your screen and choose Form submission.
In the right-hand panel, under Form, select the form you want to connect.

Create a free Mailjet account
Now, we’ll integrate the service that sends email notifications when a new submission is added. I’ve picked Mailjet. Their Free tier lets you send 6,000 emails/month (200 emails/day). You could also use SendGrid, Brevo, Postmark, or any other ESP with an API.
First, start by creating a free account with Mailjet.

Add a Make HTTP request action in Webflow Logic
In Webflow Logic, click the plus sign in your flow and select Make HTTP request from the left-hand menu.
Now go to Settings on the right side of your screen. Under Authentication, pick Username & Password and click Select a credential → Add new credential.
Give your credential a name (i.e., Mailjet). Under Type, select Username & Password.
Now, head over to Mailjet and click on API in the top menu. Click on Generate Secret Key. If you haven’t done so already, verify your email address.

Copy your API Key and Secret Key somewhere safe. Back in Webflow, enter your API Key in the Username field, enter your Secret Key in the Password field, and click Create.

Configure your HTTP request
With Credentials created, we’re moving to the Request method. Here, select POST from the dropdown.
Under General in the URL field, paste the following:
https://api.mailjet.com/v3.1/send
Click the Plus sign next to Headers. Under Name, paste: Content-Type. Under Value paste: application/json.
In the Body field, insert the following:
{
"Messages":[
    {
        "From":{
            "Email": "Your validated email address",
            "Name": "The From Name"
        },
        "To":[
            {
                "Email": "Address of the recipient",
                "Name": "The To Name"
            }
            ],
            "Subject": "Your subject line",
            "HTMLPart": "<p>A new Sales form submission was submitted to our website.</p><p>Here are the details: </p><p><strong>Name: </strong>Insert Name Variable from form</p><p><strong>Email: </strong>Insert Email Variable from form</p><p><strong>Message:</strong>Insert Message Variable from form</p>"
        }
    ]
}
Let’s customize this script to fit your needs. For From, use the email address associated with your Mailjet account or the one you have validated for sending. Note that using a @gmail.com or @yahoo.com address can result in your emails ending up in the spam folder, so you’re better off with a custom domain.
In the To section, fill out the Email and Name of your recipient.
Add your Subject line.
In the HTMLPart section, add your message using basic HTML for styling. I’ve left a message to give you a template. Where it says Insert Variable, click on the purple dot in the left corner of the Body field in Webflow. Pick the variable from your form. This will populate the message with the form value. Add a fallback message when people leave this field blank (if not required).
Your final configuration should look like this:

Run the test to complete your setup. You should receive an email looking like this:

Now, just publish your flow and you’re all set. Repeat this process for other forms you’d like to deliver to different people.
Conclusion
Using Webflow Logic, you can configure different forms on your Webflow site to deliver submission notifications to different email addresses. This is great if you have forms that are used by different company departments and you want to route the message straight to the right people.
I hope you enjoyed this guide. If you have any questions feel free to send me a DM on Twitter/X.
👋 Subscribe to Flowletter
Hi, Ondrej here. Every week, I write about growing my Webflow freelance business, sharing freelance tips, Webflow skills, and learnings from the community.
If this is your first time reading Flowletter and you’re not subscribed, here’s what you missed in the past weeks:


